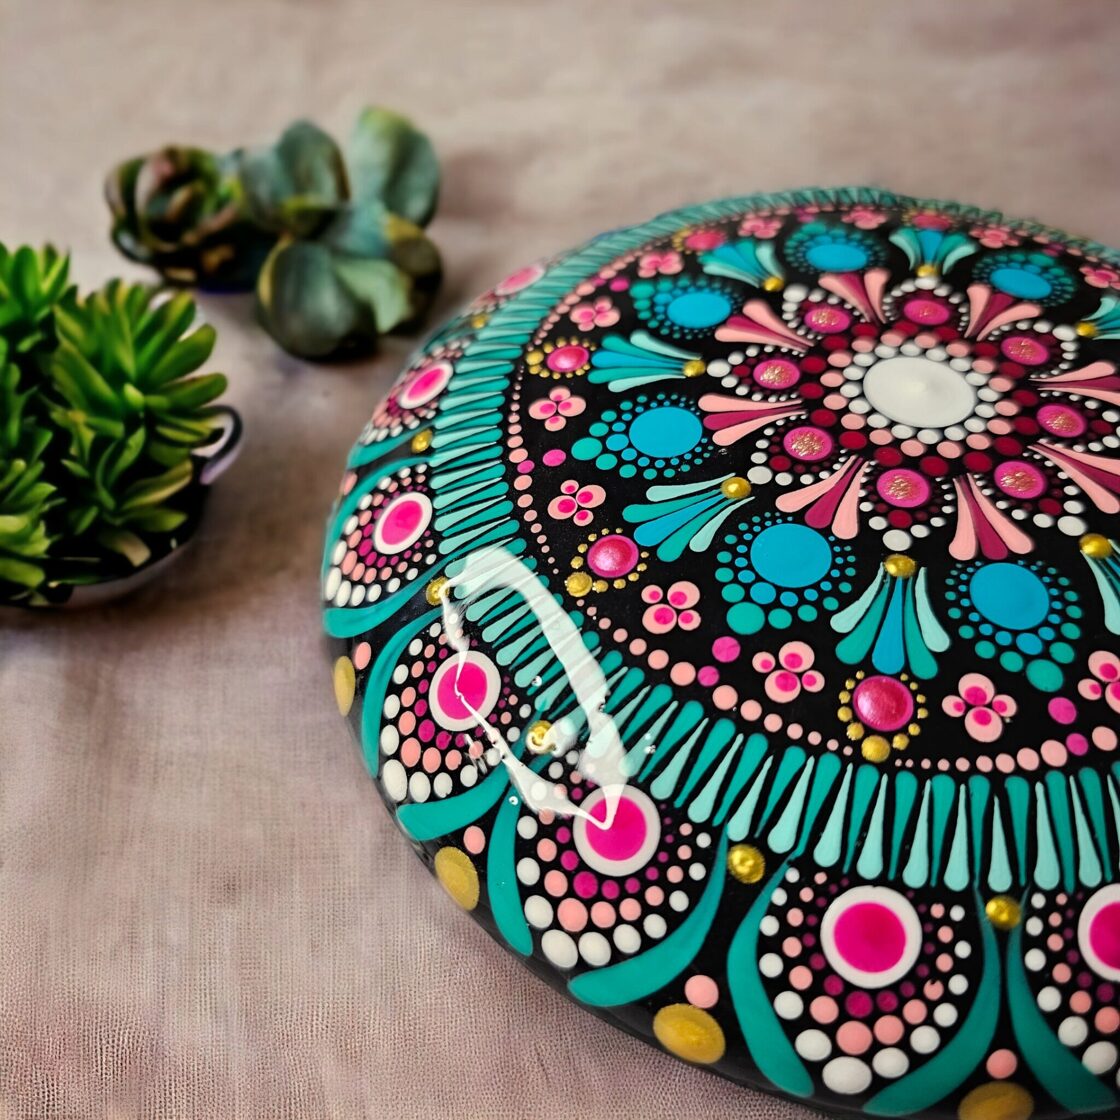
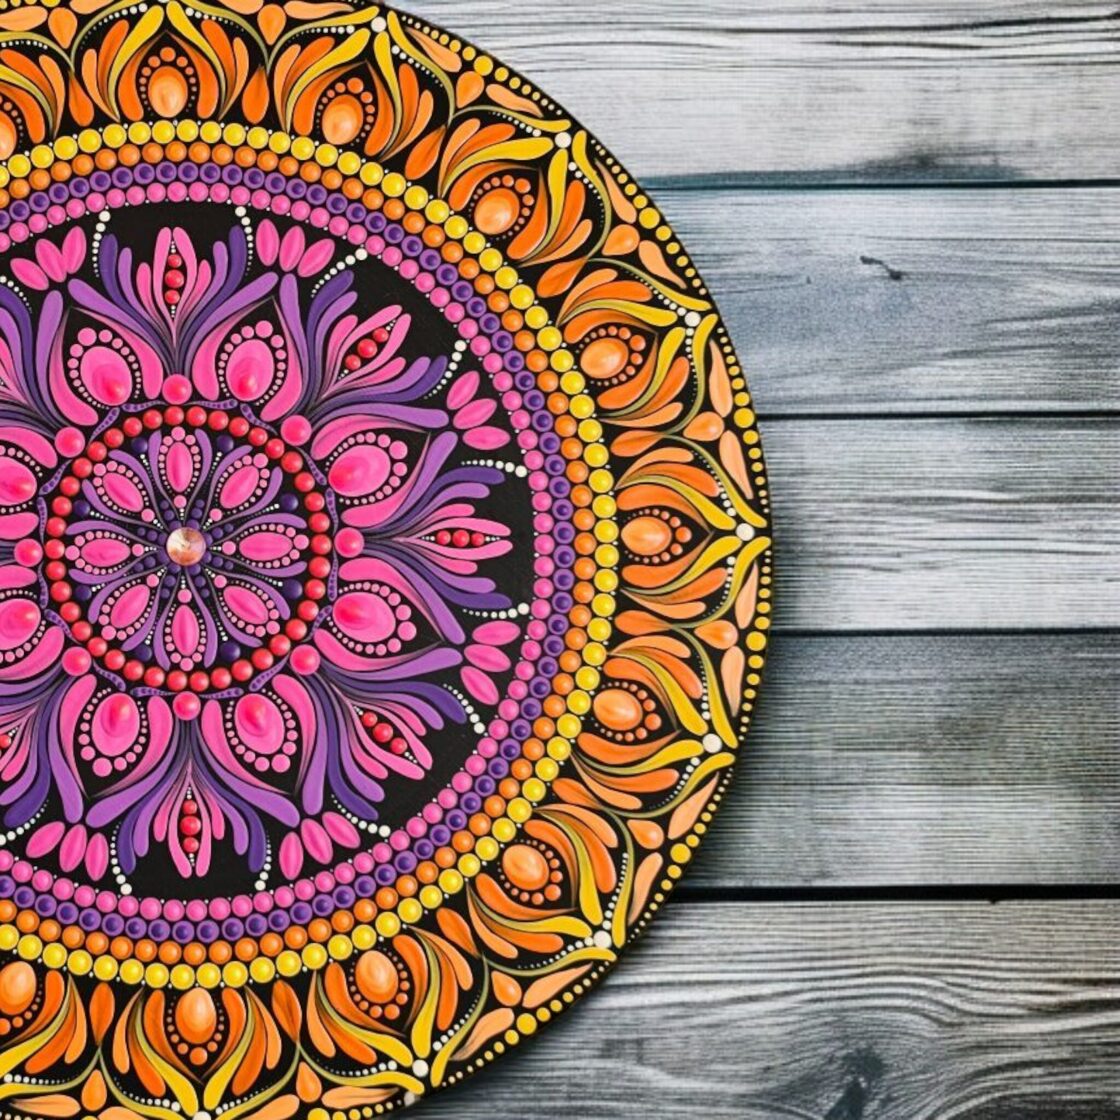
What Is a Mandala Stone For?
At a recent art market, many people stopped by my table.
They smiled, looked at the mandala stones, and then came the question:
“They’re beautiful… but what are they for?”
That question always makes me smile — because it’s a good one.
A mandala isn’t a “useful” object.
It’s not a cup, not a keychain, not a lamp.
It’s something else entirely.
It doesn’t have to be “useful”
A mandala stone doesn’t do something — it gives something.
A feeling. A small pause. A moment of peace.
Some people keep one on their desk and look at it when life gets loud.
Some hold it in their hand when they feel anxious.
Others place it on a windowsill to catch the light — a quiet reminder of something words can’t describe.
The mandala is a point you can return to
The shapes and colors aren’t random.
Each one carries a sense of balance and order — that quiet stillness that lives inside all of us.
When you look at a mandala, your eyes always find the center first.
That’s the point.
For a moment, you pause.
You breathe.
You return to yourself.
Calm you can hold in your hand
Each mandala stone is poured and painted by hand.
Every piece is unique.
And once you hold one, you feel its weight, its smoothness — and you understand that it’s not just a stone.
It’s a moment captured in form.
A small piece of peace you can carry with you.
In the end
A mandala stone doesn’t fix anything.
But it reminds you.
That there is stillness.
There is balance.
There is a place you can always return to.
And maybe that’s exactly why we need it so much.
***
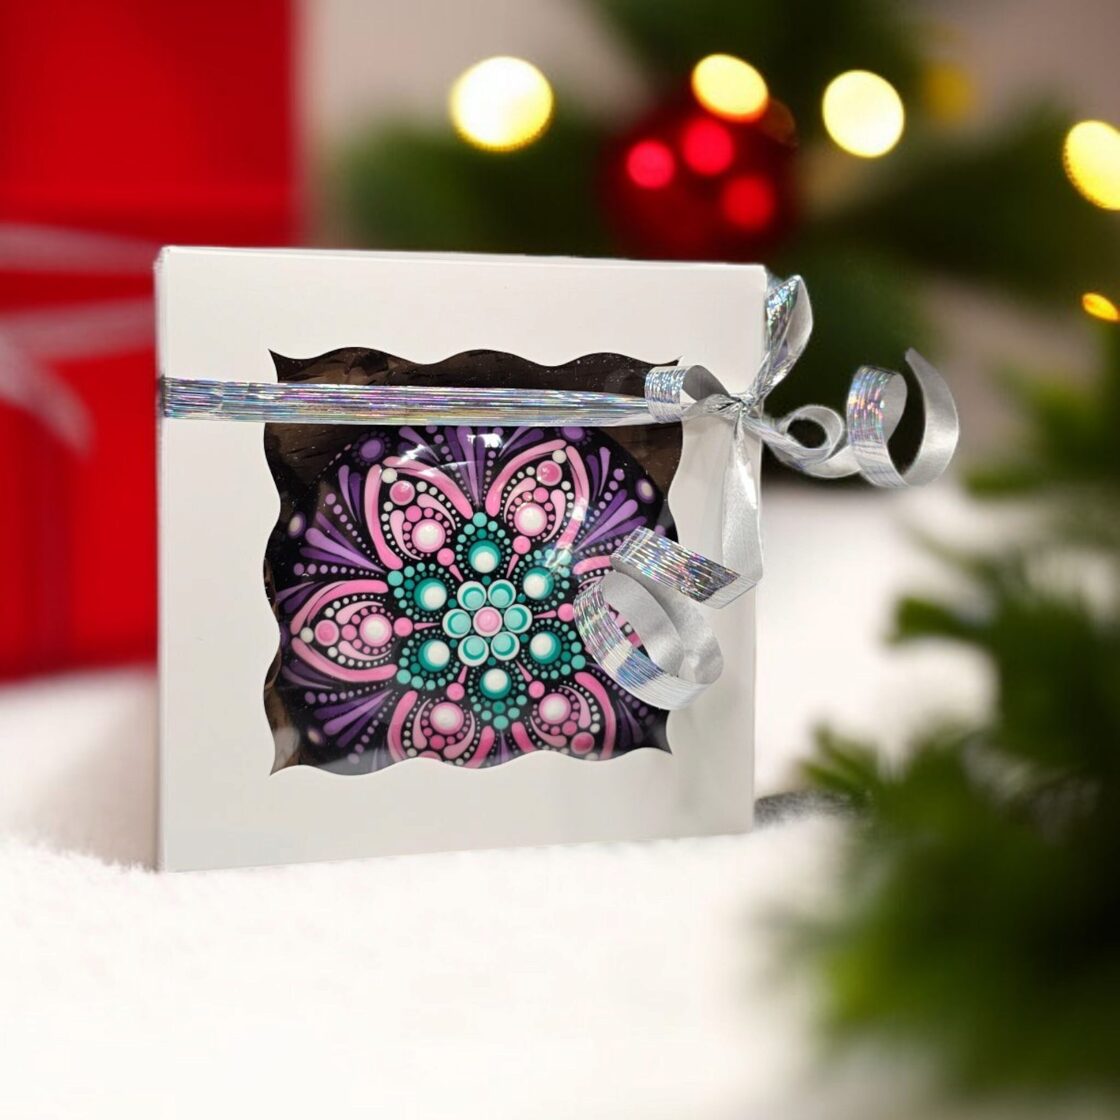
Gift Ideas – When You’re Looking for Something Truly Special
Finding the right gift is never easy.
Not because there isn’t enough to choose from — but because you want to give something that truly means something.
Something that carries time, attention, and care.
You want the person receiving it to feel: “this was chosen for me.”
Something that brightens their days, that’s there with them when they drink their morning tea, or when they sit down to rest in the evening.
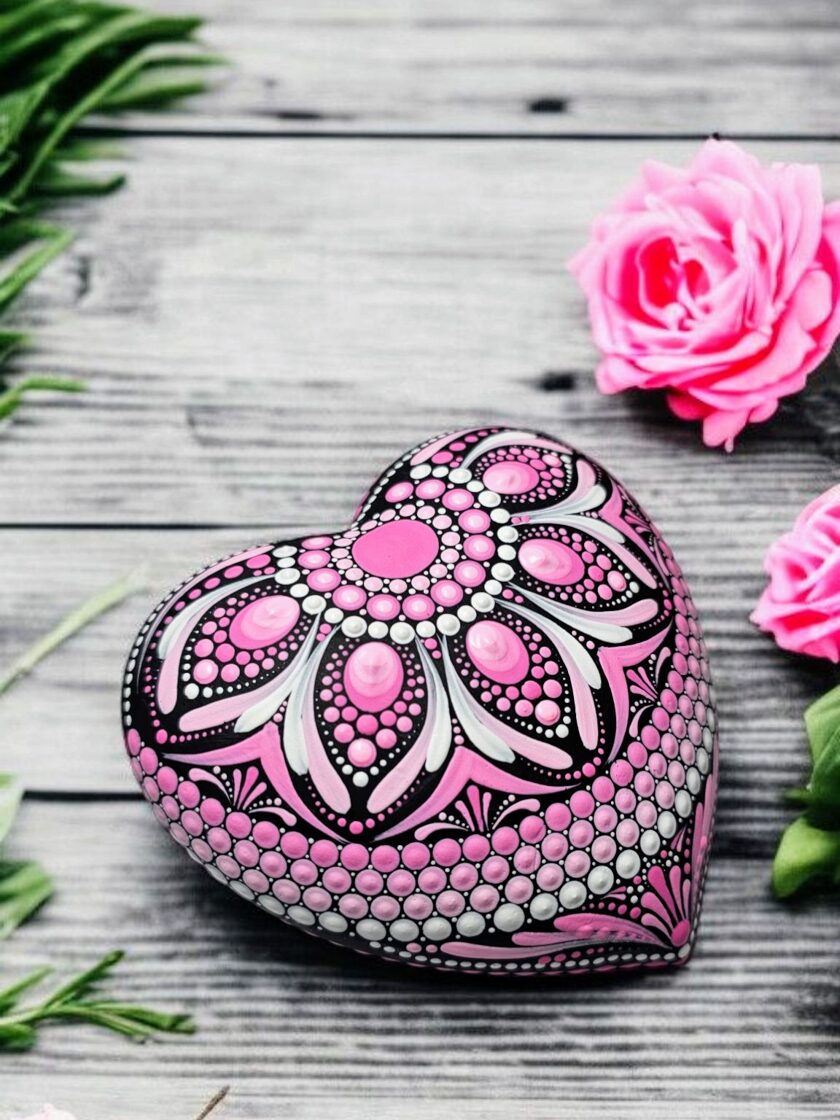
And that’s exactly why I believe hand-painted mandalas and accessories make perfect gifts.
A mandala is always personal.
It’s not mass-produced, not identical to any other — it’s one of a kind, just like every person.
And every color, every pattern speaks — of harmony, strength, peace, or joy.
--------------------------------------------------------------------------------------------------------
Gift ideas under 30 €
Small gestures that still mean a lot.
-
Mandala keychains – tiny pieces with their own story.
-
Bookmarks – companions for quiet moments.
-
Mandala stones – little talismans that bring calm and focus.
Hand-painted mugs – a bright start to any morning.
Tealight holders – small lights that soothe and calm.
-----------------------------------------------------------------------------------------------------
Gift ideas under 50 €
If you’re looking for something lasting and eye-catching.
-
Mandala wall art in smaller sizes – personal yet timeless.
------------------------------------------------------------------------------------------------------
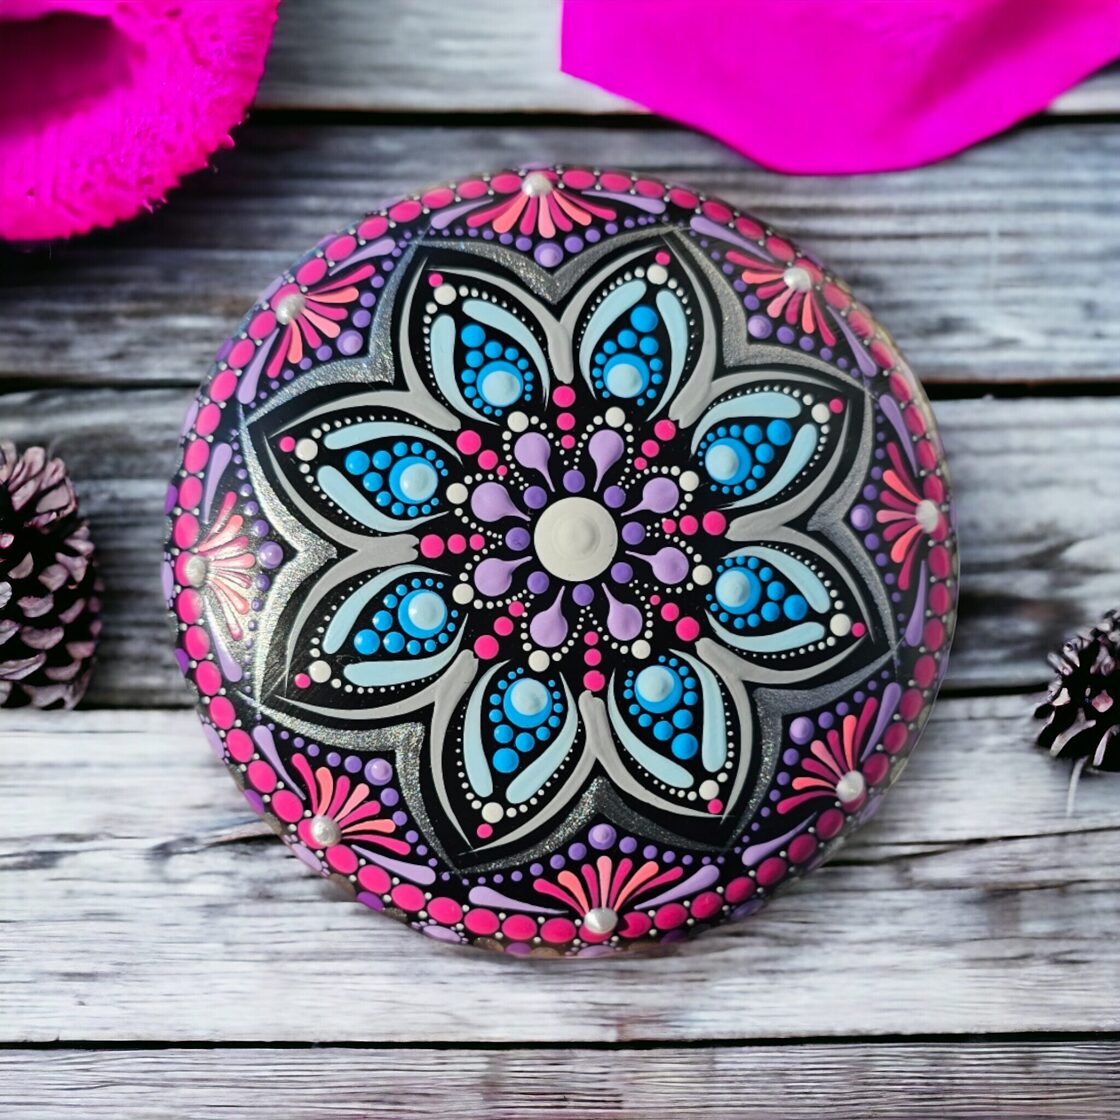
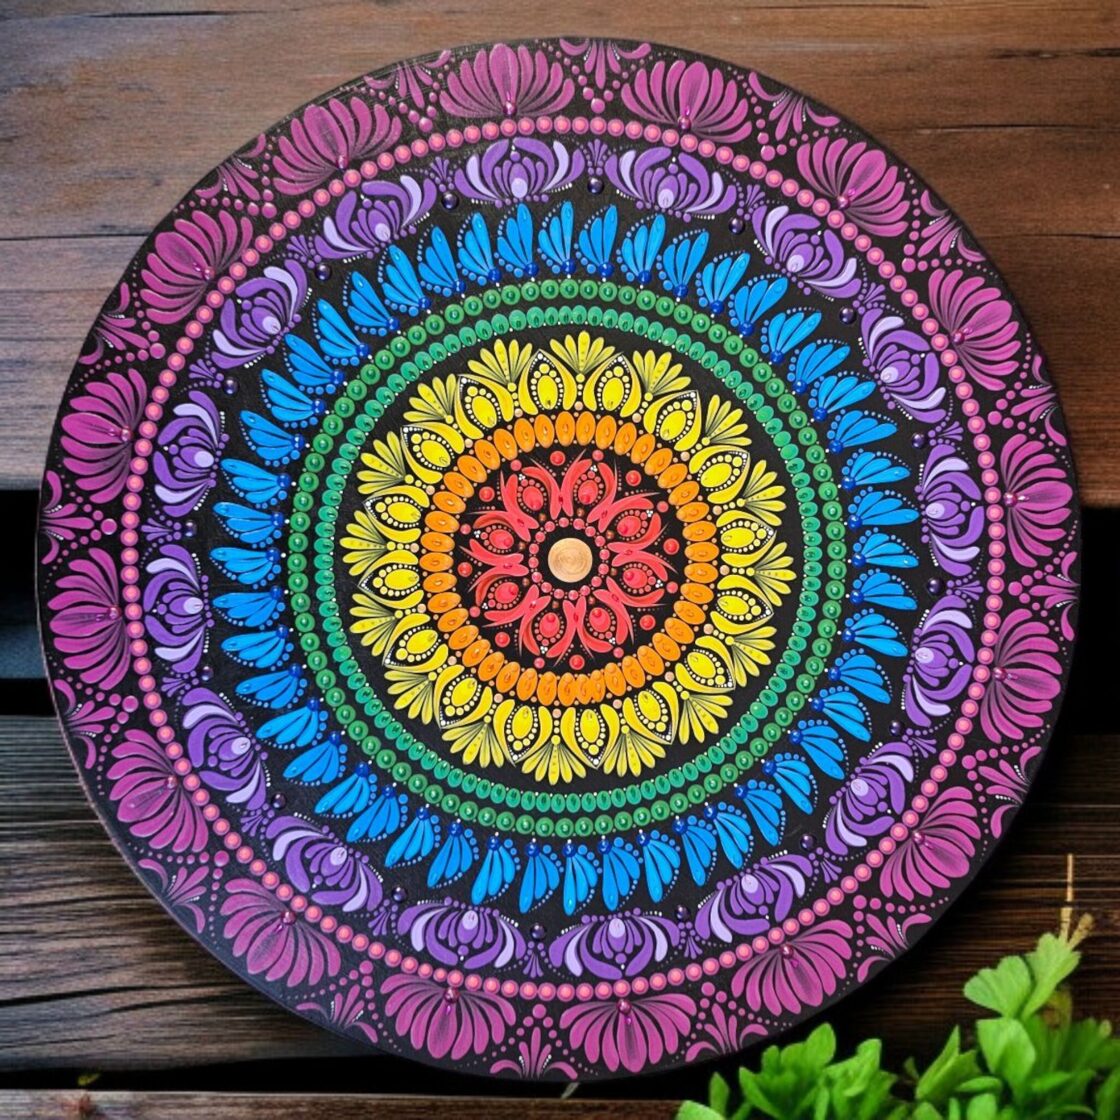
Chakra gifts
For those who value meaning and energy in what they give.
Chakra mandalas are connected to the body’s seven energy centers — each with its own color, message, and effect.
-
The Root Chakra (red) brings grounding and security.
-
The Sacral Chakra (orange) inspires creativity and joy.
-
The Solar Plexus Chakra (yellow) gives confidence and strength.
-
The Heart Chakra (green) radiates love and acceptance.
-
The Throat Chakra (blue) encourages honest expression.
-
The Third Eye (indigo) represents intuition and insight.
-
The Crown Chakra (violet) connects us to higher awareness.
These colors and symbols don’t just decorate a space — they shift its energy.
A thoughtfully chosen chakra mandala is like a quiet reminder: you’re here, and you’re in balance.
-------------------------------------------------------------------------------------------------------
In the end
A gift is never just about its price.
The most precious ones are chosen with attention and intention.
When you give a mandala, you’re giving a moment of peace, a little piece of harmony —
and maybe that’s exactly what we all need most right now.
***
Paint Consistency – What It Looks Like in Real Life
Paint Consistency – What It Looks Like in Real Life
In mandala painting, colors are beautiful — but paint behavior is what really matters. A dot only looks clean and controlled when the paint consistency is right.
This is a quick visual guide — not the full chapter from my book, just the essence to help you understand what to look for.
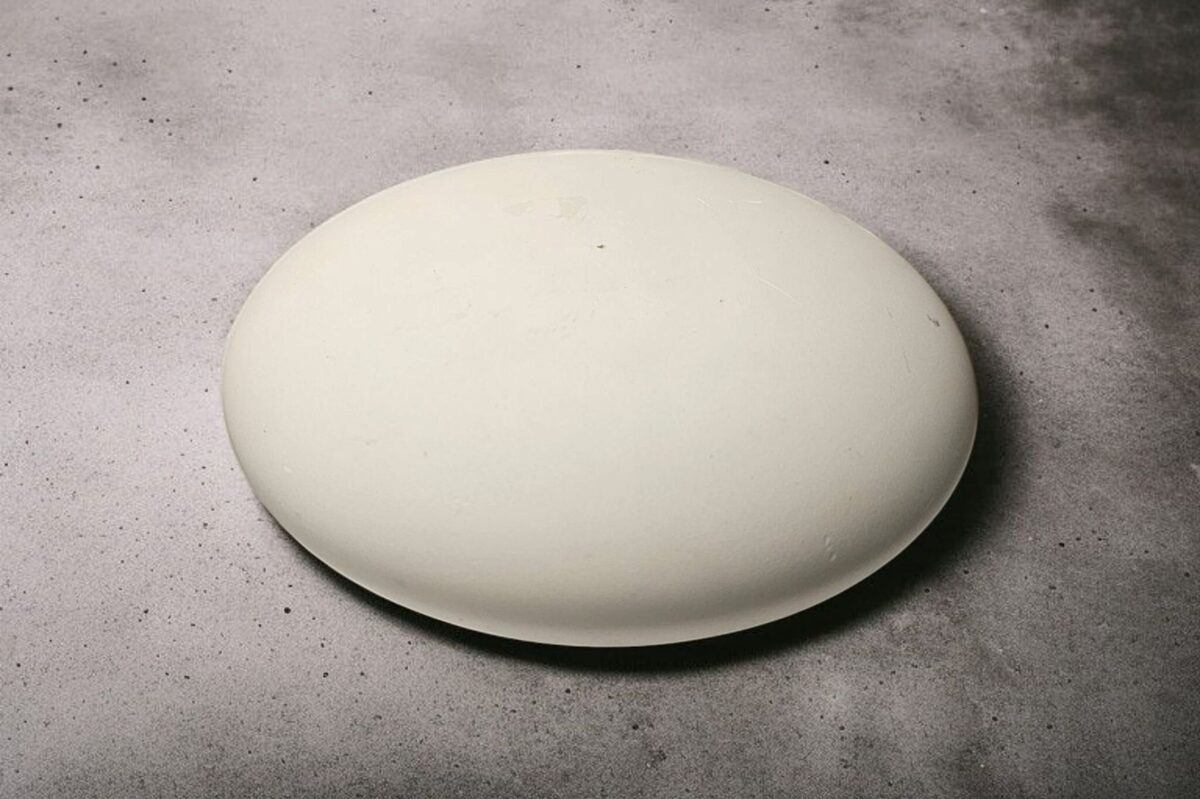
The Goal
A dot that settles nicely, holds its shape, has clean edges, and a soft, round “nipple” in the center.
If your dot looks like this — the consistency is spot on.
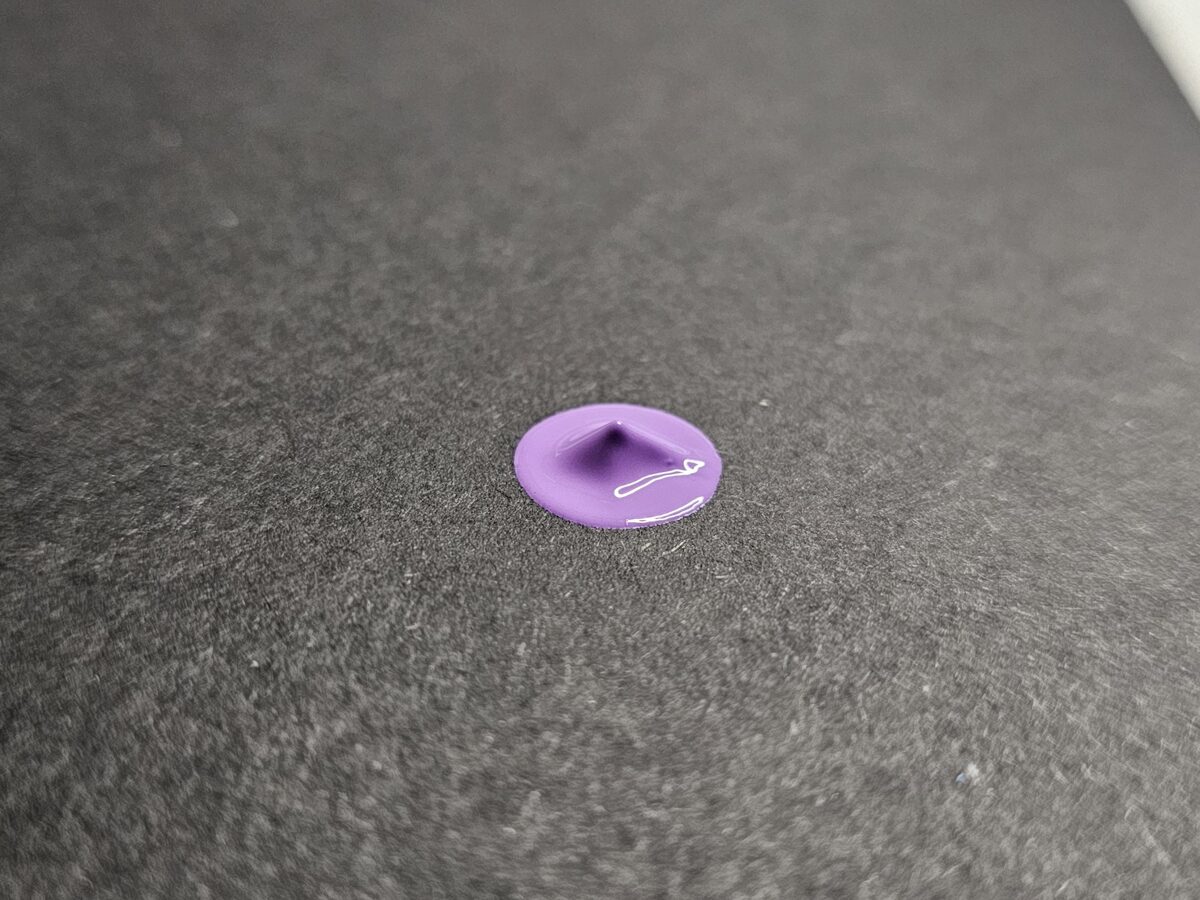
1) Purple dot – Too thick
What you see:
A sharp little peak in the middle that doesn’t settle. The surface has rings and the edges don’t round out fully.
What to do:
Add a small drop of medium (not water), mix thoroughly, and make a test dot on the same surface.
Adjust until the peak softens into that perfect nipple dot.
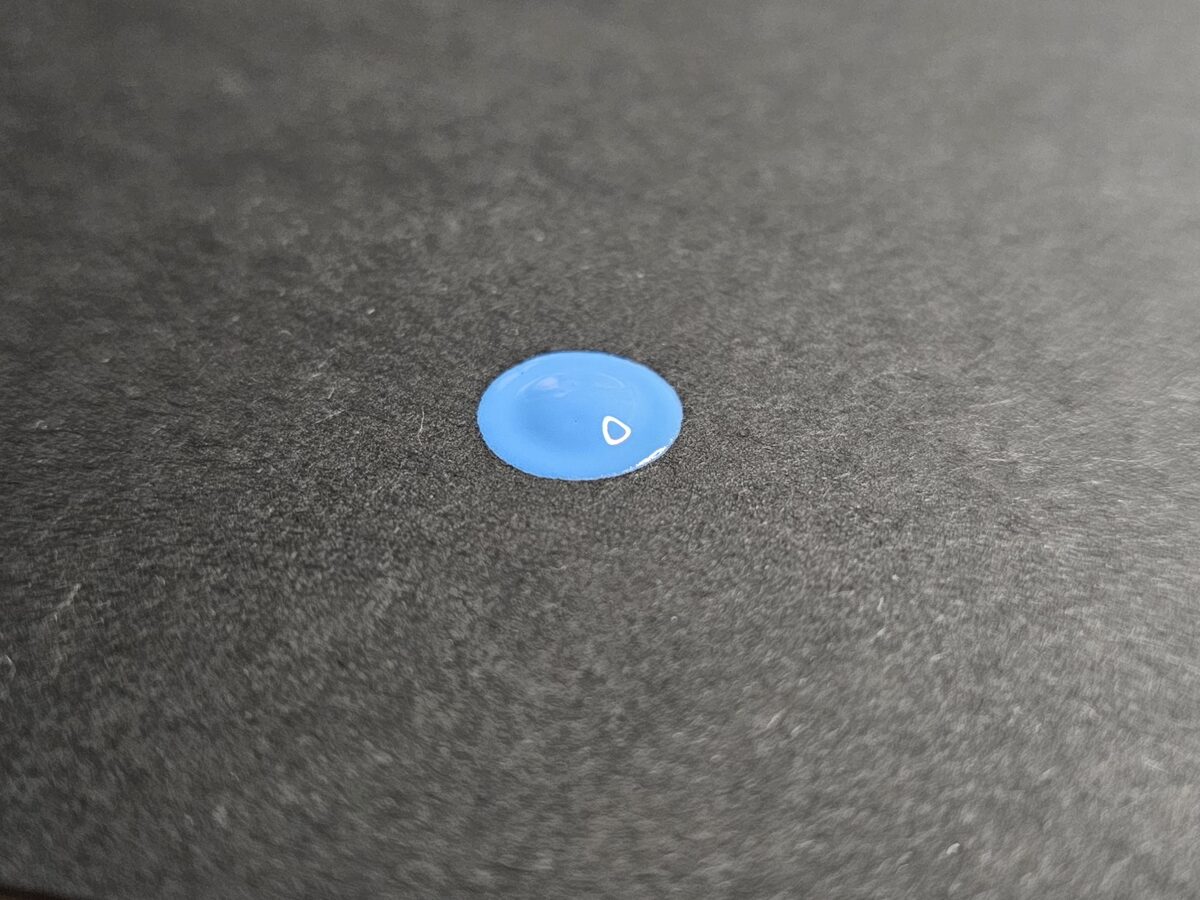
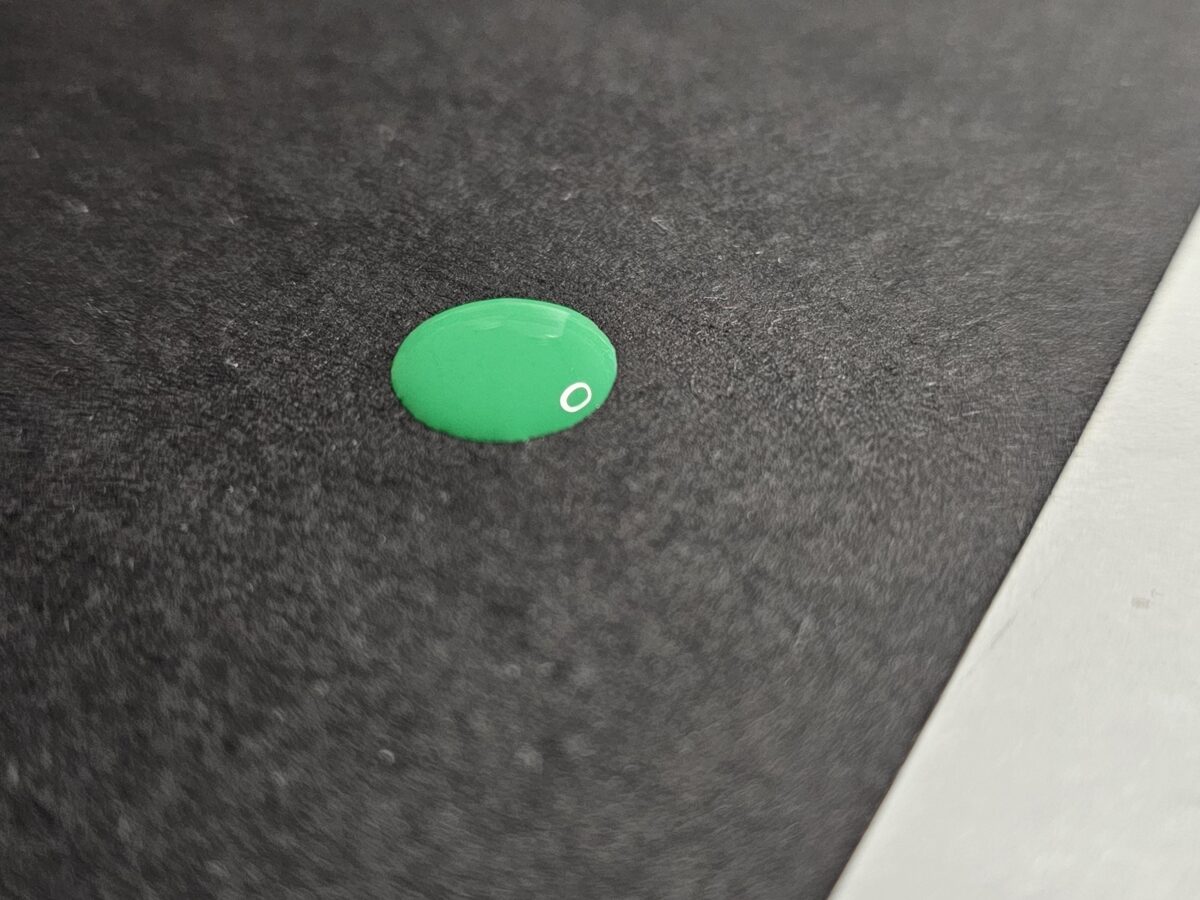
2) Blue dot – Perfect consistency (nipple dot)
What you see:
A smooth, slightly domed shape with a soft bump in the center. Clean edges, no spreading, stable form.
What it means while painting:
You get consistent, stable dots, good coverage, and full control.
Once you’ve hit this balance, mix a small extra batch with the same ratio so you can keep going without constant adjusting.
3) Green dot – Too runny (the paper slowed it down)
What you see:
Flatter shape, lower bump. It didn’t spread more because it’s on black cardboard — the porous surface held it back. On smooth surfaces like vinyl or porcelain, it would spread further.
What to do:
Work a bit of thicker paint back into the mix, stir well, and test again on the same surface you’re painting on.
Surface matters
The same paint behaves differently depending on the surface:
-
Porous (cardboard, plaster): less spreading, it “holds” the paint.
-
Smooth (vinyl, porcelain): more spreading, easier flow.
Always test a couple of dots on the actual surface you’ll work on. It saves a lot of frustration.
Why not water?
Water weakens the binder and can lead to cracks or fading later.
Medium keeps the paint strong — it only changes how it flows.
Final thoughts
Paint consistency isn’t magic. It’s practice.
Once you find that nipple dot consistency, everything becomes easier.
Here I only shared the essentials. In my book, there’s a full chapter dedicated to this: how I find the right ratio, adjust different brands and colors, and save a “bad” mix so it becomes usable.
If you’re serious about learning, that’s where you’ll find everything — step by step.
***
Mandala Painting for Beginners – What You Really Need
When you first fall in love with mandala art, it’s tempting to buy every single tool and color that flashes across your screen. I know—because I did exactly that. A week later I was staring at a pile of expensive supplies I barely touched. So here’s my honest advice: start small. Try the hobby first, see how it feels in your hands and in your heart, and only then build your collection.
Start with a Simple Beginner’s Set
You don’t need a studio full of gear to make beautiful mandalas. An affordable starter set—whether from me or any other source—can save you both money and frustration. It gives you just enough to explore without overwhelming you with choices or unnecessary expenses.
Surfaces: Smooth and Forgiving
From my own experience, ready-made plaster stones and a well-primed wooden board are the easiest way to begin. You can find perfectly shaped, pre-cast stones on Etsy—no need to buy molds and plaster yet. Their smooth surface is ideal for learning how the paint behaves and for practicing smaller swipes and patterns without fighting rough textures.
Paint: Reliable and Easy to Use
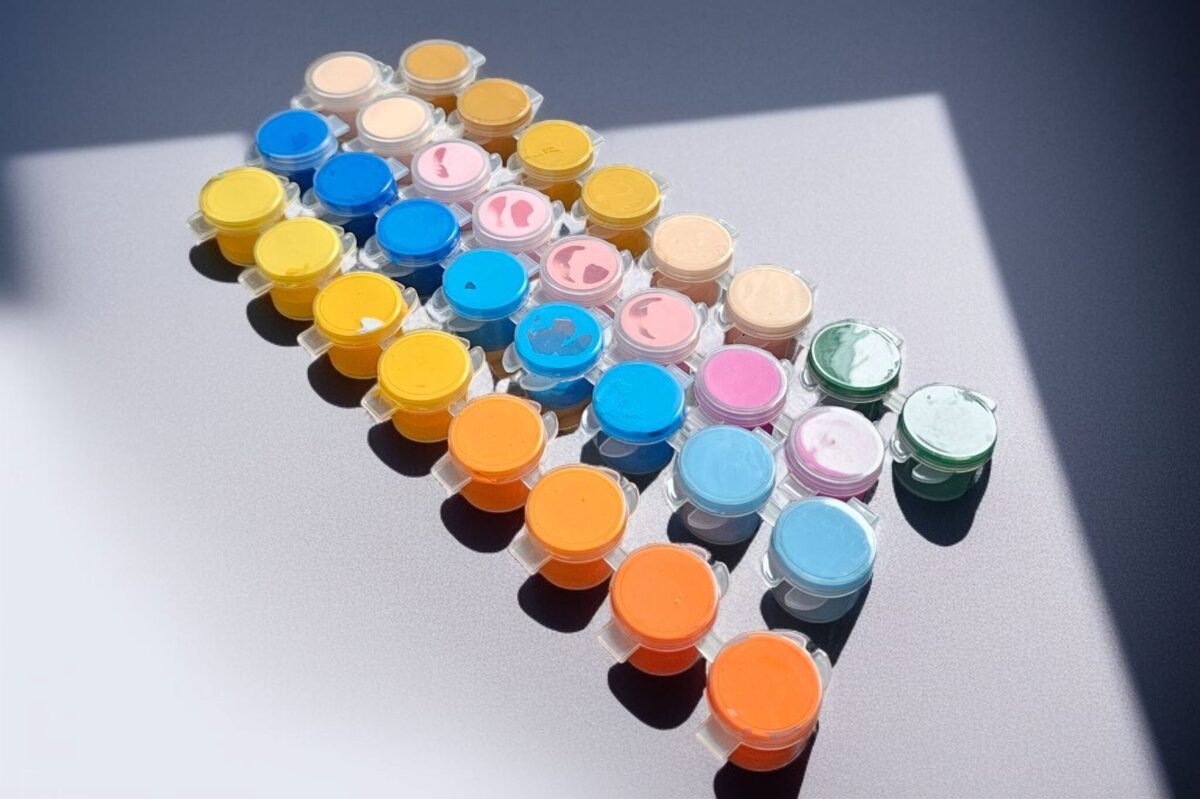
I recommend the Marabu 80-color set (3.5 ml each). It’s not too thick, not too runny, and it doesn’t dry out quickly. You can get it on Amazon, and it will give you enough shades to experiment without breaking the bank.
Tools: Everything in One Starter Kit
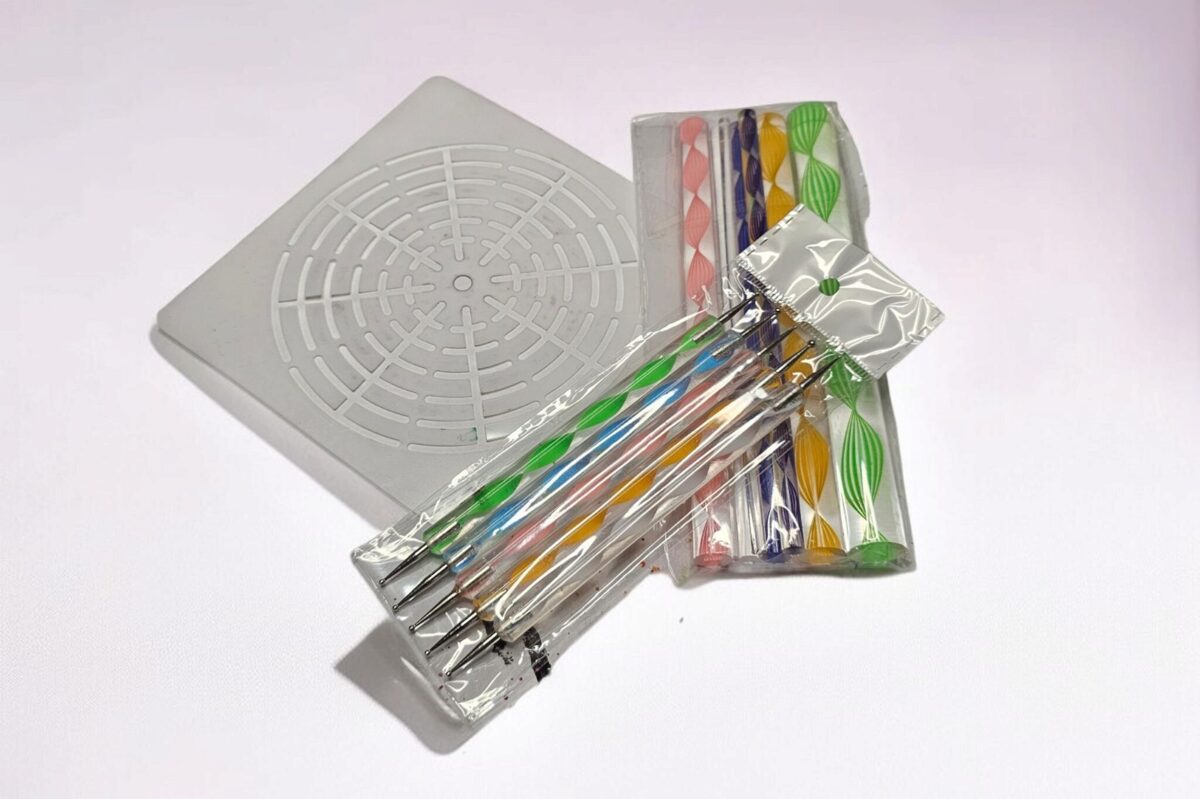
A basic dotting set is really all you need at first—and the good news is that many Amazon kits include dotting tools, a stencil for circles and lines, and even some extras in one package. This way you don’t have to hunt for separate items. Add a white erasable pencil for sketching guidelines (press lightly!), and you’re ready to go.
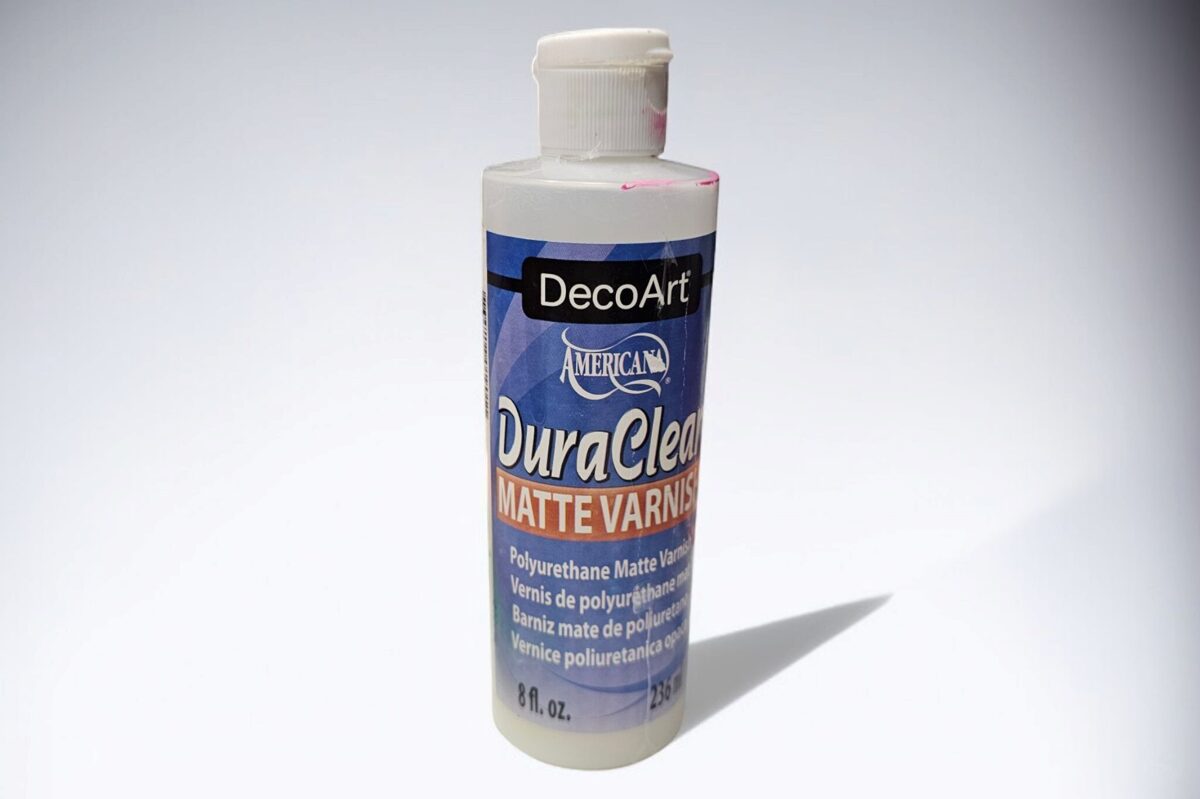
Protective Finish
For sealing your work, I recommend DecoArt DuraClear Matte Varnish. Despite the “matte” label, it has a subtle satin sheen, dries quickly, and offers excellent protection when applied with a soft, wide brush. A spray varnish can also work. I don’t suggest using boat varnish—it tends to yellow over time.
Priming
Any acrylic paint will do for priming your surface. I usually apply two coats for a solid base before starting to paint.
This isn’t a sponsored post or a paid promotion
I don’t get any money for recommending these products—these are simply the things I’ve tried and loved, and they’ve worked well for me.
Starting this way keeps your investment small, your learning curve gentle, and your enthusiasm high. Later, when you’re sure mandala painting has captured your heart, you can happily explore more colors, molds, and advanced tools—without the regret of having spent too much too soon.
***
My First Attempts – How My Journey with Mandalas Began...

... in May 2022.
I always felt that I wanted to create something with my hands. It was my dream to bring something to life out of nothing. But somehow, nothing truly captured me.
Then one day I saw a mandala stone. Maybe on Instagram – I don’t even remember exactly. But in that moment, I knew: I want to paint one too.
I had no idea about anything. I didn’t know about paints, plaster stones… I just ordered everything I could find on Amazon. Natural stones, a dotting tool set, a stencil (which I still haven’t used), and of course, paint.
When everything arrived, I excitedly started dotting. After half an hour, I gave up. The dots didn’t look nice, nothing turned out the way I imagined. (Now I know the paint was too thick.) I left everything on the table just as it was and didn’t look at it again for weeks.
Then one day I somehow sat down again. I continued. I’m not the type to give up easily.
I ordered another type of paint and tried on wooden discs – but the dots still didn’t look good. Then came a porcelain plate, and with the new paint it finally looked quite nice. I was starting to understand what the right paint consistency should be.
Meanwhile, I watched videos and saw that many artists use medium. I ordered that too. From then on, it was just a matter of experimenting until all my paints had the right consistency. With the help of the medium, I could finally make them work the way I wanted.
From that point on, I couldn’t stop anymore. I spent all my free time painting. I painted, took photos, and of course sent them to my family. Poor them.